There’s nothing quite like the taste of pure maple syrup drizzled over pancakes or waffles on a cozy morning. But did you know that you can make your own maple syrup right in your backyard? That’s right!
With a little knowledge and a few simple tools, you can learn how to tap a maple tree and create delicious, homemade syrup.
From identifying the right maple tree and using essential tools for tapping, to boiling sap and exploring alternative trees for syrup making, we’ve covered everything you need to know to create your own pure maple syrup at home.
Sugar vs. red maple trees: which is best?
First things first, you’ll need to identify the right maple tree for tapping.
Sugar Maples are the best choice for producing pure maple syrup, as they have the highest sugar content of any maple tree species.
The average maple tree’s sap has a sugar content of two or three percent, perfect for making your own pure maple syrup.
Red Maples can also provide sweet sap suitable for making your own maple syrup, but their sugar content is not as high as Sugar Maples.
Checking for signs of diseases and problems
Before tapping a maple tree, it’s important to check the tree for any signs of disease, insect problems, or open wounds. Tapping a diseased or unhealthy tree can worsen its condition and eventually kill it.
Plus, the sap you collect from such a tree will likely be of lower quality and quantity. Also, be sure to choose a tree with a minimum diameter of 10-12 inches for one tap and 18 inches for two taps.
Larger trees are highly recommended for tapping, as they can produce more cold sap for maple syrup making. The south side of the tree is recommended for tapping, as it provides better sap flow and makes it easier to collect and boil sap.
Tapping a maple tree
When tapping a maple tree, it’s essential to move the location for maple sugaring at least 6 inches horizontally or 12 inches vertically each year.
This practice helps maintain the health of the tree and ensures a bountiful sap collection.
The incredible range of sap production for a single tap hole in a year can be 40 to 80 gallons, which can be boiled down to make delicious maple syrup that thickens as it cools.
Essential tools for tapping maple trees
To tap a maple tree and ensure proper sap flows, you’ll need a few essential tools: a drill, spiles, and buckets.
We’ll discuss the proper techniques for drilling the tap hole, inserting spiles, and hanging buckets for collecting maple sap in the following subsections.
Drilling the tap hole is the first step in tapping a maple tree. The drill should be used.
Step 1: Drilling the tap hole
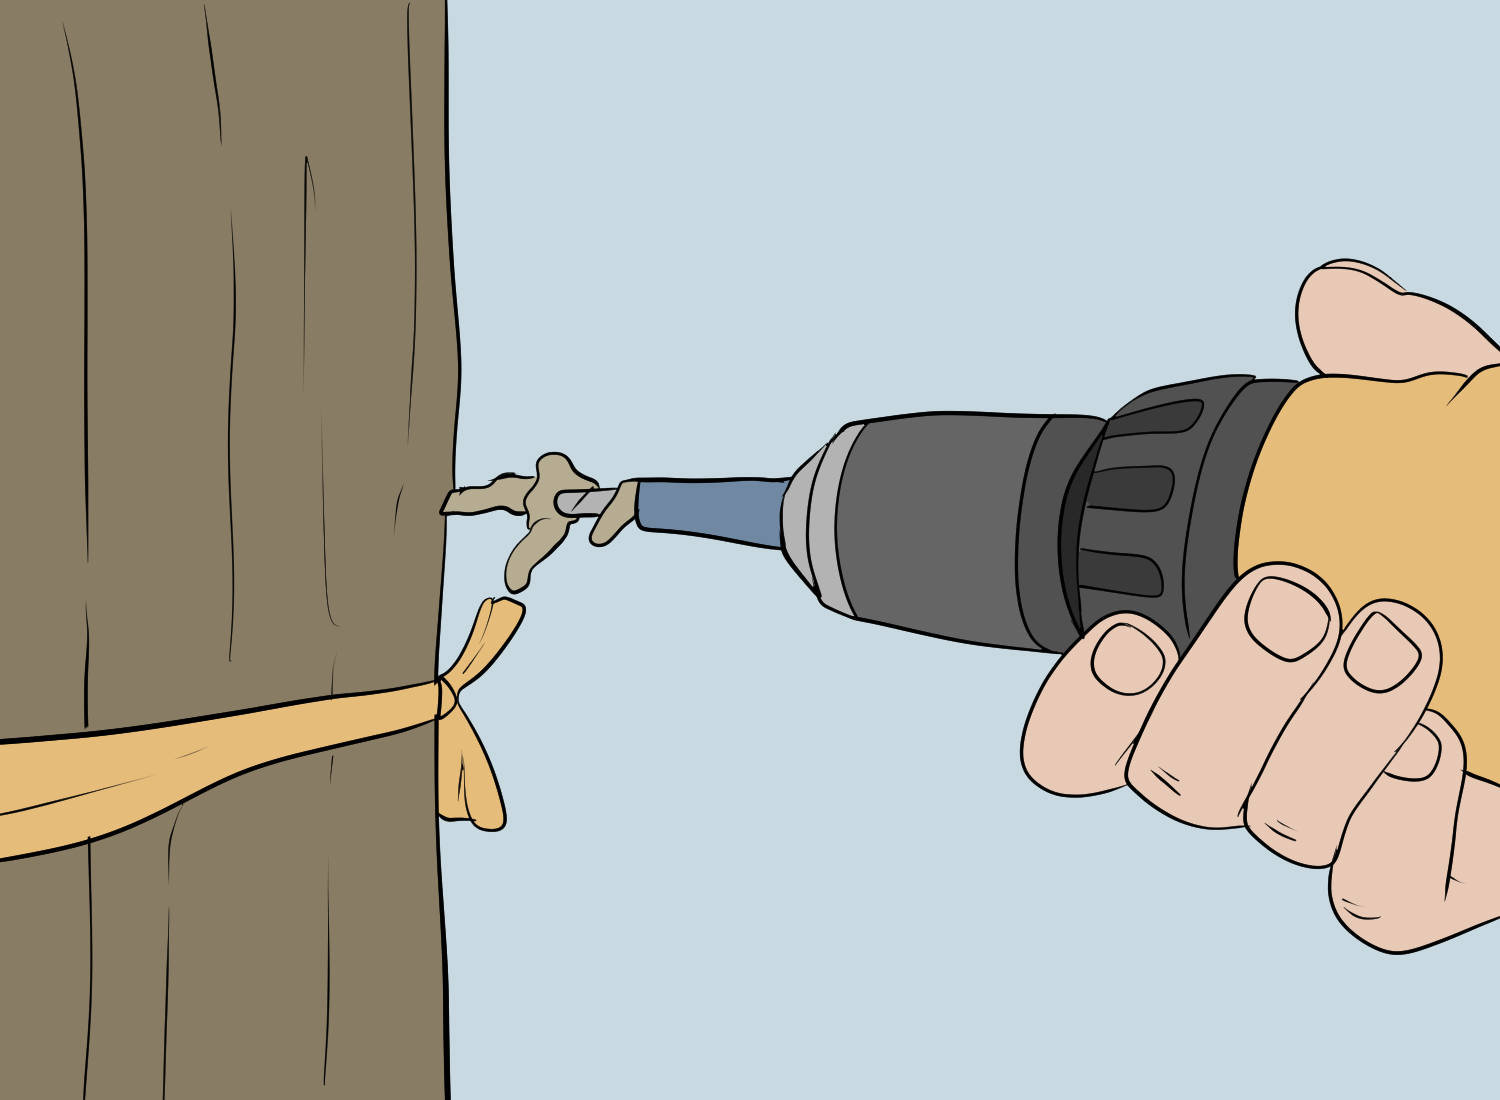
To drill the tap hole, follow these steps:
- First, locate the perfect spot on the tree, ideally on the south side that gets the most sun throughout the day.
- The recommended diameter for the drill bit when drilling a tap hole is the same diameter or slightly smaller than the spout.
- Drill holes should be approximately 5/16”-7/16” in diameter to a depth of 1.5”-2.5”.
- You can put tape on the drill bit to mark the recommended depth of 1.5 inches, ensuring you reach the perfect depth when drilling.
When drilling the tap hole, there are two recommended techniques: drilling straight for a perfectly round hole or drilling at a slight upwards angle for easier sap dripping.
Be sure to clean the drill bit before and after use to prevent bacterial contamination and avoid boring closer than two feet directly over or under a former tap hole or closer than six inches from the side of an old taphole.
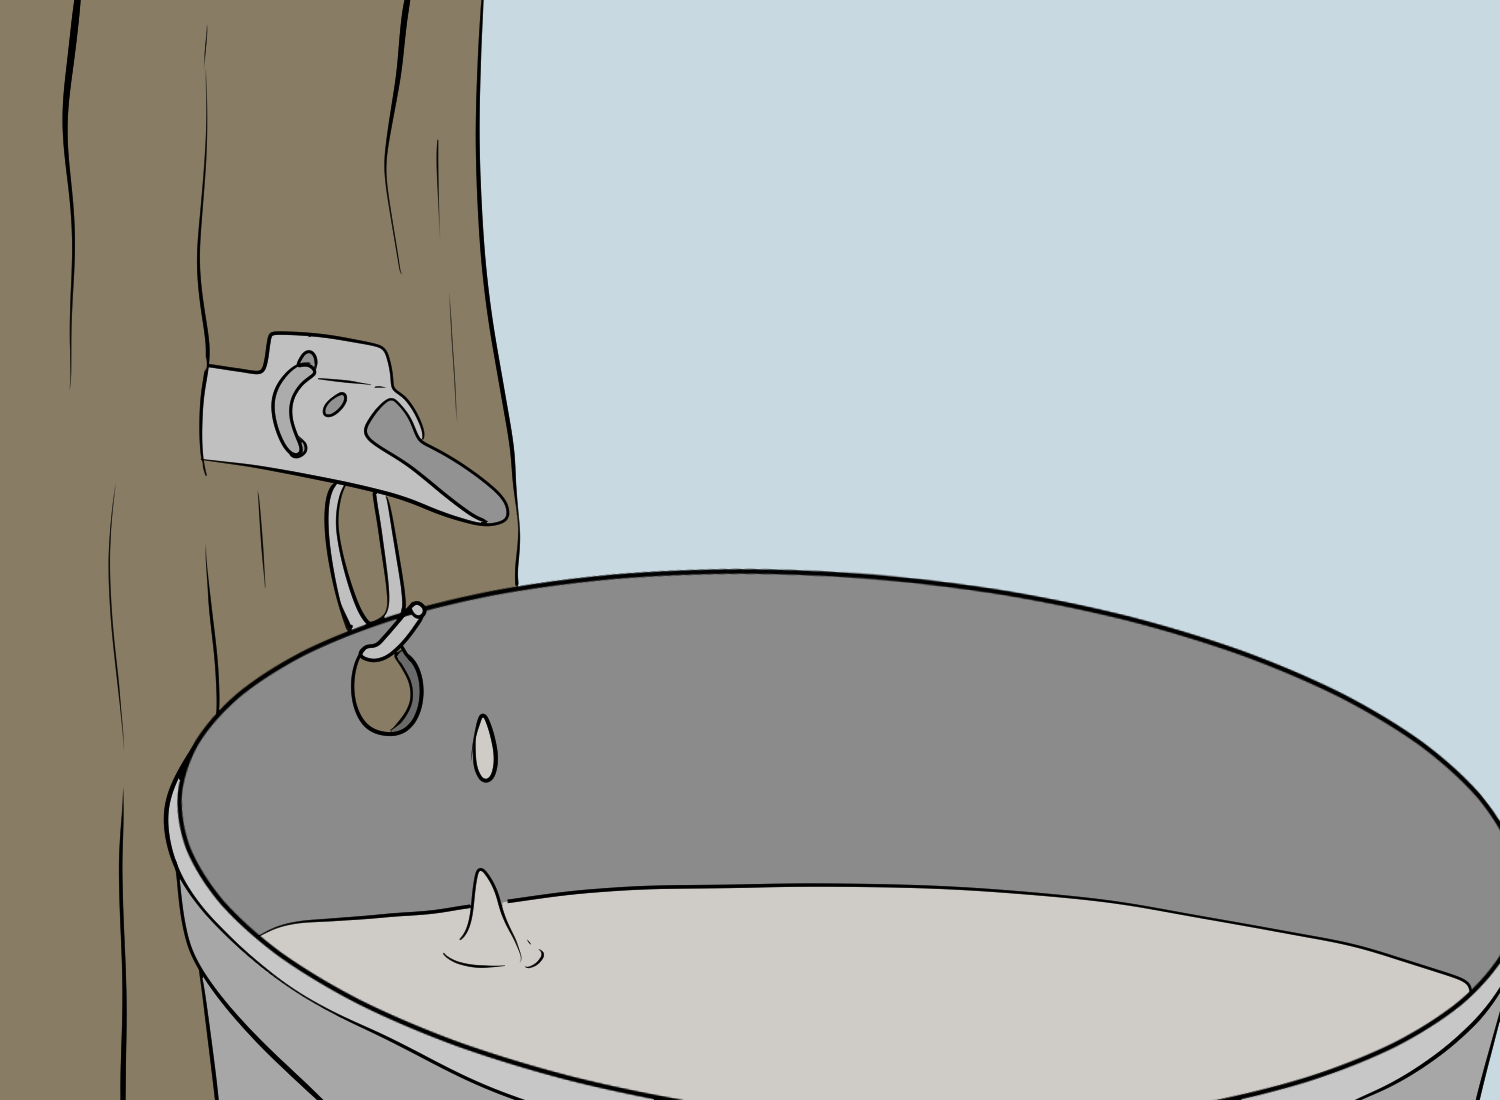
Step 2: Inserting spiles and hanging buckets
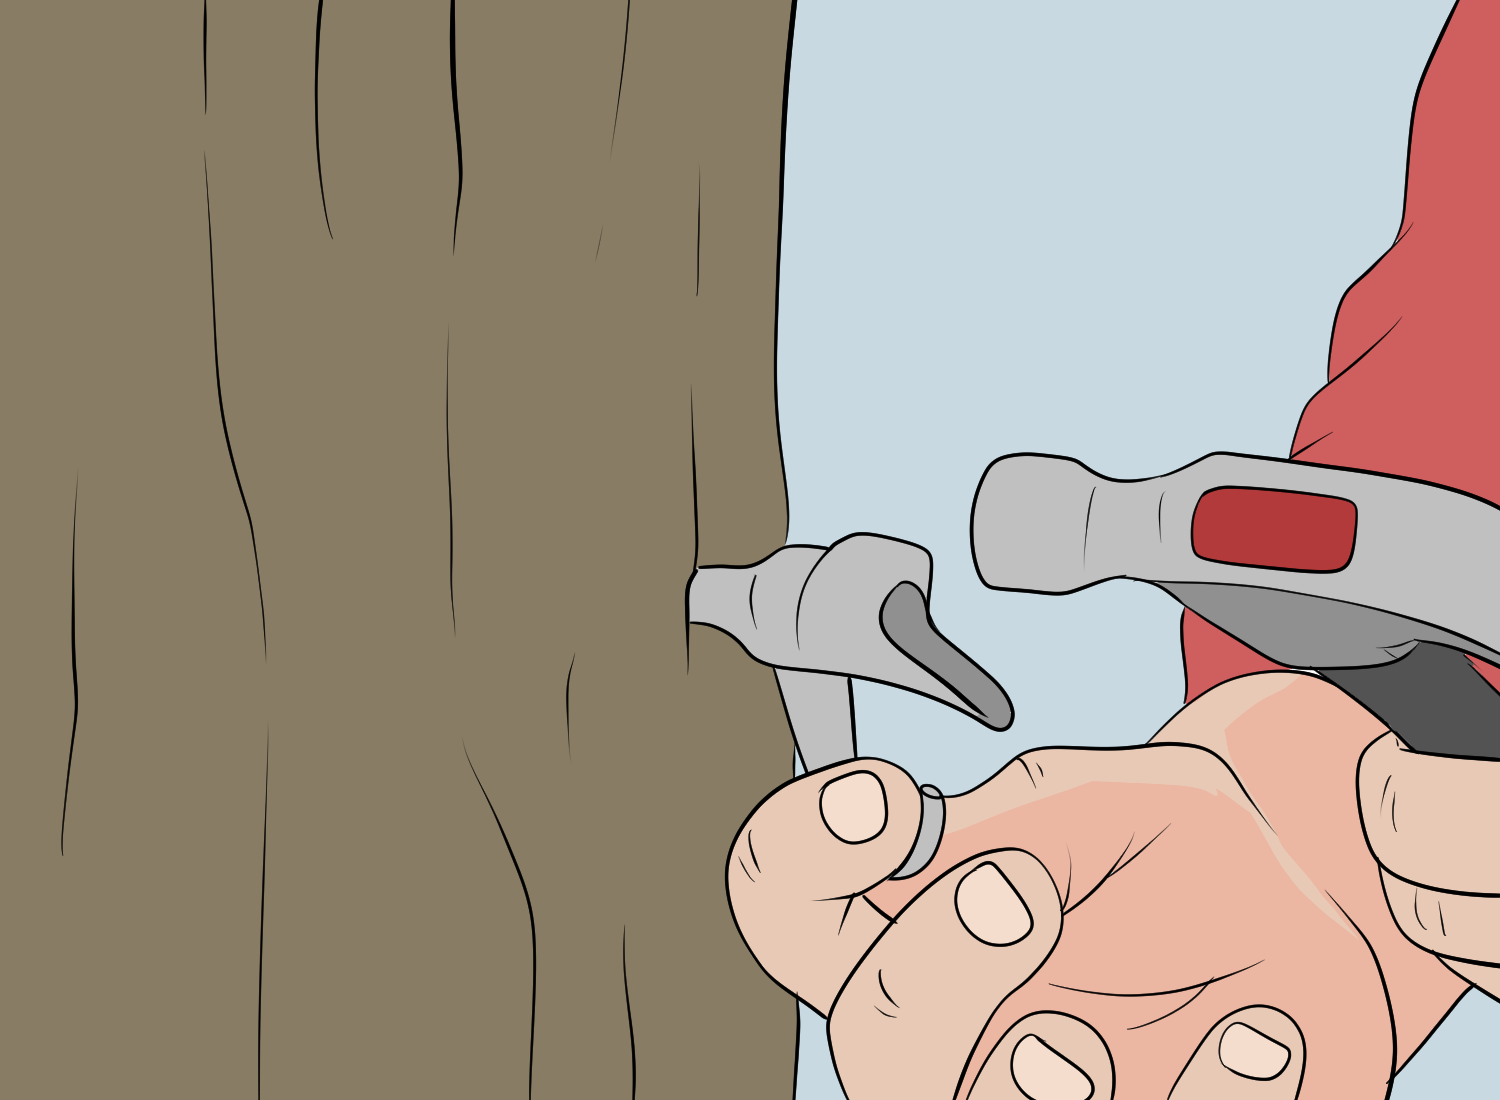
Once the tap hole is drilled, it’s time to insert the spike and hang the bucket for sap collection. As the sap drips, insert the spout into the hole. Gently tap it with moderate force a few times until you hear the thud of contact.
Hang your collection container on the spout if possible. If not, get creative and place a hook in the tree. Twist it with your hand to hold the container firmly.
Step 3: Monitoring sap collection
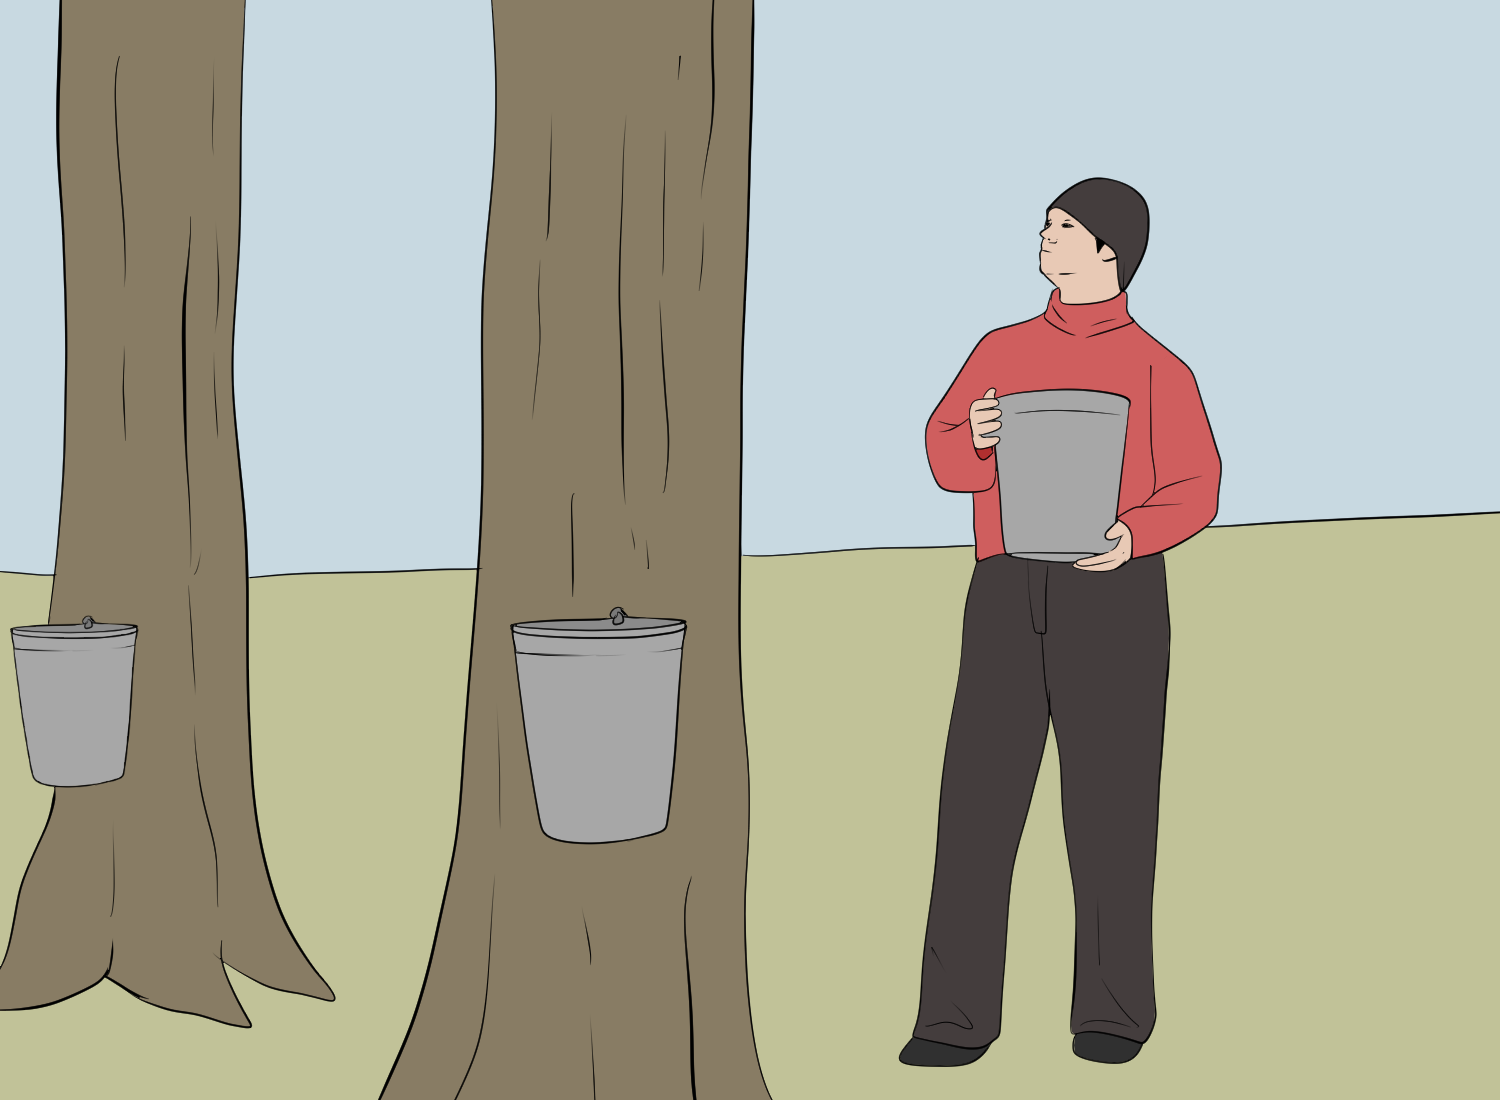
It’s important to regularly monitor your sap collection. Optimal sap flow occurs when temperatures are 40F (4.5C) or above during the day, and below freezing at night.
The amount of sap collected depends on conditions and tree size, with temperature fluctuations during night and day being the most significant contributors to how well the sap will run for the day.
To ensure the sap is ready to be collected, it should look like clear water and taste slightly sweet. Check your buckets at least once a day (preferably twice) to stay on top of your sap collection.
If you don’t process the sap immediately after collecting it, store it in food-grade buckets outside and keep it cool to prevent spoiling.
The art of boiling sap
Boiling sap is the key to transforming it into delicious maple syrup. To begin the boiling process, maintain a depth of at least 1.5 inches of sap in a large pan.
Once the temperature reaches 219°F (104°C) or 7 degrees above the boiling point of your specific area, the syrup is done. This is an indication that the desired result has been achieved.
It’s important to keep a close eye on the boiling sap, as it can quickly boil over or burn if unattended. The boiling process requires a significant amount of sap. Approximately 40 gallons of sap are required for making 1 gallon of syrup.
This is done by boiling the sap down. So, be prepared to spend some time boiling the sap to achieve the perfect consistency and flavor for your homemade maple syrup.
Filtering the syrup
After boiling the sap, it’s important to filter the syrup to remove sugar sand or niter, which is the remaining sediment formed when the sap’s minerals become concentrated and hardened during the boiling process.
A two-tiered filter system is the most effective way to ensure clean air. It typically comprises a lightweight paper cone filter surrounded by a thicker wool or a less expensive synthetic fiber filter.
It’s best to filter the syrup while it’s still hot, as the syrup cools, it becomes thicker, making the filtering process more difficult.
Storing your homemade maple syrup
To ensure your homemade maple syrup stays fresh and delicious, store it in a cool, dark location such as a cupboard, refrigerator, or freezer.
Once the syrup is canned in glass jars, it should last indefinitely, but at least 2 to 4 years even with sloppy practices.
After opening, refrigerate or freeze your maple syrup to maintain its quality.
Sustainable tapping practices
Sustainable tapping practices are crucial for ensuring the health and longevity of your maple trees. The purpose of tapping trees, specifically maple trees, is to provide hormones and energy for growth, bud break, and disease resistance.
To maintain tree health, it’s important to limit the number of taps used on a single maple tree to no more than two, but generally just one.
Additionally, supplies for tapping maple trees can be used year after year, keeping supply costs down.
When tapping a tree, be sure to follow the recommended guidelines for scar formation, such as maintaining a 4-inch lateral and 6-inch vertical separation from the prior year’s hole.
Exploring alternative trees for syrup making
While maple trees are the most popular choice for syrup making, there are alternative trees that can also be tapped for syrup. Some of these trees include:
- Birch
- Hickory
- Box elder
- Black walnut
Trees with lower sugar content are not as popular for syrup making. Maple trees, in particular, have the highest sugar content among the varieties and are preferred for this purpose.
For example, birch syrup requires about 100 gallons of sap to make syrup, making it much more expensive than maple syrup.
These unique syrups offer a different flavor profile from traditional maple syrup, giving you a chance to explore new tastes and possibilities in syrup making.
FAQ's
Tap a maple tree for beginners by drilling 2 to 3 inches into the south side of the tree, making a hole 3/8- to 5-inch in diameter.
Place a metal sap spigot into the hole, give it a little wiggle, and then place the spile into the hole and “tap” it in with a hammer or mallet.
Finally, collect the sap that runs when temperatures freeze at night and thaw during the day.
Yes, you can tap your own maple tree! Sugar maple trees need to be at least 10 inches in diameter before they can be tapped, so even younger trees can be utilized.
Birch and black walnut trees can also be tapped for delicious sap with lower sugar content!
Tap the south side of your maple tree for best sap flow – drill a hole 2-3 inches deep and above a large root or below a large branch. Place the tap hole at a convenient waist-high height and avoid any damaged areas on the tree.
Make sure to use a spile or spout that fits the size of the hole. Clean the hole and the spile or spout with rubbing alcohol before inserting. Insert the spile or spout and secure it with a hook or nail.
Tapping a maple tree is totally worth it – it’s easy to do, it doesn’t harm the tree, and trees are resilient enough to recover from a small hole. Plus, even low-grade maples can be used to produce maple syrup for a good financial return.
So, tap away!
If you’re looking to tap a maple tree for syrup, Sugar Maples are the way to go; they contain more sugar than other varieties, making them ideal for producing pure maple syrup.


